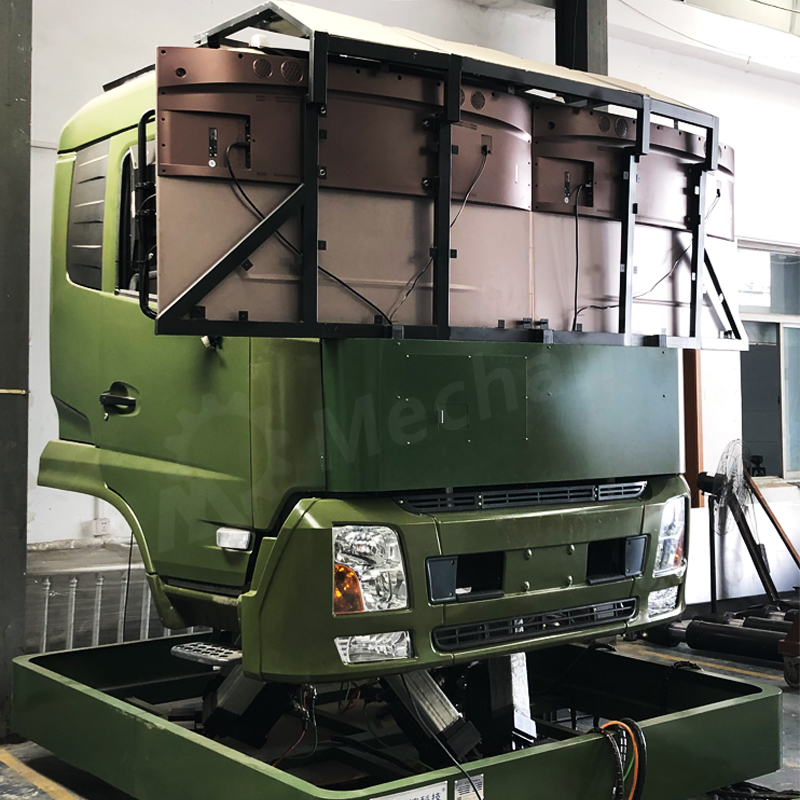
6DOF precision calibration measurement is a complex task, and it is also a manifestation of a company's ability and strength. Our team is a well-known Chinese six-degree-of-freedom platform in the industry, and the customers we have cooperated with also recognize the six-degree-of-freedom platform we produce, which is inseparable from our product quality, service, and technology.
Since the manufacturing cost of the 6dof precision platform is relatively high, we will use an ordinary 6DOF motion platform for calibration experiments. Platform data: load-200KG, vertical translation-±140mm, lateral translation-±140mm, Z-axis Displacement-±83.5mm, pitch-±15°, roll-±16°, yaw-±25°, we use imported FARO laser tracker for calibration experiments, the price of this FARO laser tracker is around 2 million. The whole experimental process took 5 working days, including measurement, calibration data washout process, etc.
Measurement indicators and process
1. Absolute positioning accuracy
(1) Data collection
X-axis: Take 10 points equally spaced within the stroke of the X-axis. The stroke of the X-axis of this equipment is ±75mm, and the total stroke is 150mm, so each point is 15mm apart. Run the equipment, let the equipment run point by point from the first point in the X direction, stop running every time it reaches a point, use the laser tracker to collect points, after the point collection is completed, continue to run to the next point, and repeat the operation , until the last bit. Then run in the opposite direction one by one from the last point, and repeat the operation until the first point. At this point, the X-axis point collection is completed.
The operation method of Y-axis and Z-axis is the same as that of X-axis.
(2) Data analysis and processing
The laser tracker software is used to analyze and process the point data to obtain the absolute positioning accuracy of the equipment.
2. Repeat positioning accuracy
Using the data collection method when analyzing the absolute positioning accuracy, collect six sets of data three times back and forth, and analyze and process the data, so as to obtain the repeated positioning accuracy of the equipment.
3. Straightness
(1) Data collection
X-axis: Fix the ball on the X-axis with the laser tracker, and let the X-axis run from the negative limit position to the positive limit position at a constant speed. At the same time, use the high-frequency tracking and sampling mode of the laser tracker to collect data, and repeat the operation several times.
The operation method of Y-axis and Z-axis is the same as that of X-axis.
(2) Data analysis and processing
Analyze and process the data, and analyze its fitting degree, so as to obtain the straightness of the equipment.
4. Verticality
Use the data collected when analyzing the straightness, analyze and process the data, and obtain the perpendicularity between the three axes respectively, so as to obtain the perpendicularity of the equipment.
5. Six degrees of freedom calibration measurement tool

6. Test results (calibration data report generated by laser tracker software)
Longitudinal movement range of the six-degree-of-freedom platform: -150mm-150mm,
The lateral movement range of the six-degree-of-freedom platform: -100mm-100mm,
The output attitude angle is RPY combination,
Six degrees of freedom azimuth, pitch and roll: minimum step distance 0.005°, angle accuracy ±0.02°;
Six degrees of freedom vertical, longitudinal and lateral: the minimum step distance is 0.05mm, and the linear displacement accuracy is ±0.1mm;
Six degrees of freedom translation rate range: 0-30mm/s, angular velocity range: 0-1°/s, adjustable;
Six degrees of freedom have two working modes: local handwheel control (the handwheel line is 13 meters long) and remote control;
The six degrees of freedom have two places (local and remote) switches for power supply and two places for emergency stop.

